Sourdough Discard Brownies With Cocoa
Highlighted under: Pastry Dreams
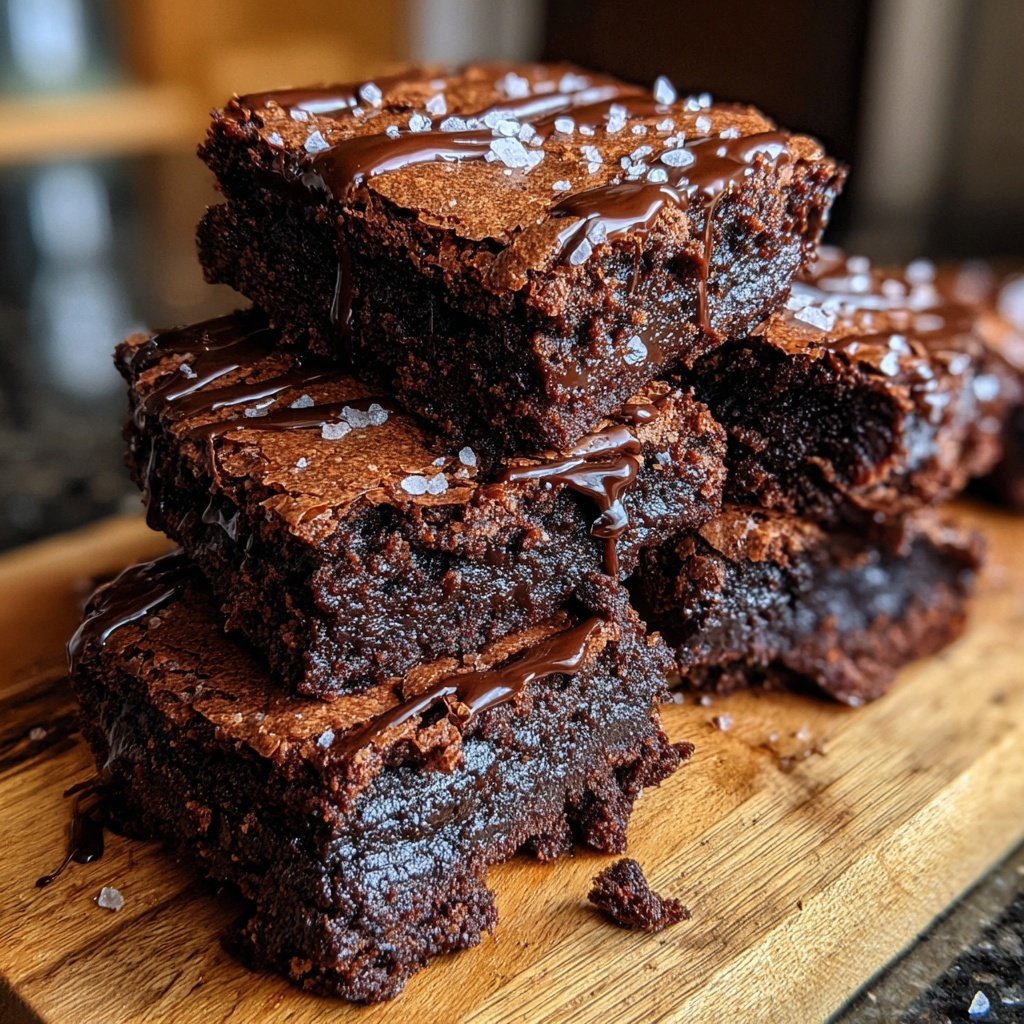
I absolutely love discovering ways to reduce waste in my kitchen, and these Sourdough Discard Brownies are one of my favorite recipes. By using leftover sourdough starter, I can create rich, fudgy brownies that are incredibly satisfying without sacrificing flavor. The unique depth provided by the sourdough gives these treats an unexpected twist that keeps everyone coming back for more. It’s an amazing way to make use of something that would otherwise be thrown away, and trust me, your friends and family will thank you for it!
When I first tried making brownies with sourdough discard, I was curious about how the flavor would translate. To my surprise, the tanginess from the starter balanced beautifully with the rich cocoa, creating a complex profile that was simply divine! Each bite is both chocolaty and intriguing.
One of the best tips I learned is to let the brownies cool completely before cutting them. This helps them set up perfectly, resulting in cleaner edges and a better texture. The wait may be tough, but it’s totally worth it when you experience that first rich chocolate bite!
Why You'll Love This Recipe
- Unique twist on classic brownies with sourdough discard
- Intensely chocolatey flavor with a hint of tang
- Easy to make and perfect for using up leftover starter
Unleashing the Power of Sourdough Discard
Using sourdough discard in brownies is a great way to add depth to the flavor. The natural fermentation in the discard introduces a subtle tang that balances the sweetness of the sugar. It’s not just about reducing waste; it's about creating a more complex flavor profile that ordinary brownies lack. Plus, the acidity can help enhance the chocolate notes, making these brownies even richer.
If you're concerned about the tanginess of the sourdough impacting the taste, fear not! When balanced with sugar, cocoa powder, and other ingredients, the slight acidity from the sourdough actually enhances the overall chocolate flavor, making it more vibrant. Trust me, no one will guess that these delicious treats are made with sourdough leftovers!
Texture Matters
To achieve that perfect fudgy brownie texture, ensure that you don’t overmix the batter once you combine the wet and dry ingredients. Overmixing can incorporate too much air, resulting in cakey brownies instead of the desired chewy richness. Stir until just combined for the best outcome, and consider using a spatula or wooden spoon for gentle mixing.
Another crucial step is closely monitoring your bake time. Every oven is different, but you’re aiming for a firm outer layer with slightly gooey centers. Bake the brownies until they pull away from the sides of the pan and a toothpick inserted in the middle comes out with a few moist crumbs—this usually takes around 30 minutes. Keep a close eye to avoid overbaking, as this can lead to dry brownies.
Ingredients
Ingredients
Gather the following ingredients for your sourdough discard brownies:
Brownies Ingredients
- 1 cup unsalted butter, melted
- 2 cups sugar
- 4 large eggs
- 1 cup sourdough discard
- 1 teaspoon vanilla extract
- 1 cup all-purpose flour
- 1/2 cup unsweetened cocoa powder
- 1 teaspoon baking powder
- 1/2 teaspoon salt
- 1 cup chocolate chips (optional)
Mix your ingredients well and prepare to bake!

Instructions
Instructions
Follow these steps to make your brownies:
Prepare the Baking Dish
Preheat your oven to 350°F (175°C) and grease a 9x13 inch baking dish or line it with parchment paper.
Mix the Wet Ingredients
In a large bowl, mix together the melted butter and sugar until smooth. Then add the eggs one at a time, stirring well after each addition. Follow up by mixing in the sourdough discard and vanilla extract.
Combine Dry Ingredients
In another bowl, whisk together the flour, cocoa powder, baking powder, and salt.
Combine Wet and Dry Ingredients
Gradually stir the dry mixture into the wet mixture until just combined. Be careful not to overmix! If using, fold in the chocolate chips.
Bake the Brownies
Pour the batter into the prepared baking dish and spread it evenly. Bake in the preheated oven for 30 minutes, or until a toothpick inserted in the center comes out with a few moist crumbs.
Cool and Serve
Allow the brownies to cool in the pan for at least 15 minutes before cutting into squares. Enjoy!
Serving these delicious brownies with a scoop of ice cream makes for an incredible dessert!
Pro Tips
- Feel free to customize these brownies by adding nuts or different types of chocolate chips. For an extra indulgence, drizzle melted chocolate on top before serving.
Ingredient Substitutions
If you're looking for a healthier option, you can substitute half of the sugar with a natural sweetener like honey or maple syrup. This will slightly alter the moisture content, so you might need to adjust the flour accordingly. Another great swap is using coconut oil instead of butter to make these brownies dairy-free while still maintaining a rich flavor.
For those who need a gluten-free option, you can substitute the all-purpose flour with almond flour or a certified gluten-free flour blend. Just keep in mind that this may change the texture slightly, requiring you to adjust baking times for optimal results.
Storing and Freezing
These brownies store well at room temperature in an airtight container for up to 4 days. If you want to keep them longer, consider freezing them. Wrap each cooled brownie individually in plastic wrap, then place them in a zip-top freezer bag. They can be frozen for up to 3 months. When you’re ready to enjoy, just thaw them at room temperature for an hour or microwave for a few seconds for that fresh-baked taste.
To maintain their fudgy texture upon reheating, be cautious not to overdo it in the microwave. Heat them in short intervals, checking until they’re just warm. Pair with a scoop of vanilla ice cream or a drizzle of caramel sauce for a delightful dessert experience!
Questions About Recipes
→ Can I use store-bought sourdough starter?
Absolutely! Store-bought sourdough starter works just as well as homemade.
→ What if I don’t have sourdough discard?
You can make a simple chocolate brownie recipe without the discard, but you'll miss out on that unique flavor!
→ How should I store these brownies?
Keep the brownies in an airtight container at room temperature for up to 5 days.
→ Can I freeze the brownies?
Yes! Wrap individual pieces tightly in plastic wrap and store them in a freezer bag for up to 3 months.
Sourdough Discard Brownies With Cocoa
Created by: Olivia Barrett
Recipe Type: Pastry Dreams
Skill Level: Beginner
Final Quantity: 12 servings
What You'll Need
Brownies Ingredients
- 1 cup unsalted butter, melted
- 2 cups sugar
- 4 large eggs
- 1 cup sourdough discard
- 1 teaspoon vanilla extract
- 1 cup all-purpose flour
- 1/2 cup unsweetened cocoa powder
- 1 teaspoon baking powder
- 1/2 teaspoon salt
- 1 cup chocolate chips (optional)
How-To Steps
Preheat your oven to 350°F (175°C) and grease a 9x13 inch baking dish or line it with parchment paper.
In a large bowl, mix together the melted butter and sugar until smooth. Then add the eggs one at a time, stirring well after each addition. Follow up by mixing in the sourdough discard and vanilla extract.
In another bowl, whisk together the flour, cocoa powder, baking powder, and salt.
Gradually stir the dry mixture into the wet mixture until just combined. Be careful not to overmix! If using, fold in the chocolate chips.
Pour the batter into the prepared baking dish and spread it evenly. Bake in the preheated oven for 30 minutes, or until a toothpick inserted in the center comes out with a few moist crumbs.
Allow the brownies to cool in the pan for at least 15 minutes before cutting into squares. Enjoy!
Extra Tips
- Feel free to customize these brownies by adding nuts or different types of chocolate chips. For an extra indulgence, drizzle melted chocolate on top before serving.
Nutritional Breakdown (Per Serving)
- Calories: 380 kcal
- Total Fat: 26g
- Saturated Fat: 15g
- Cholesterol: 195mg
- Sodium: 85mg
- Total Carbohydrates: 32g
- Dietary Fiber: 3g
- Sugars: 24g
- Protein: 6g