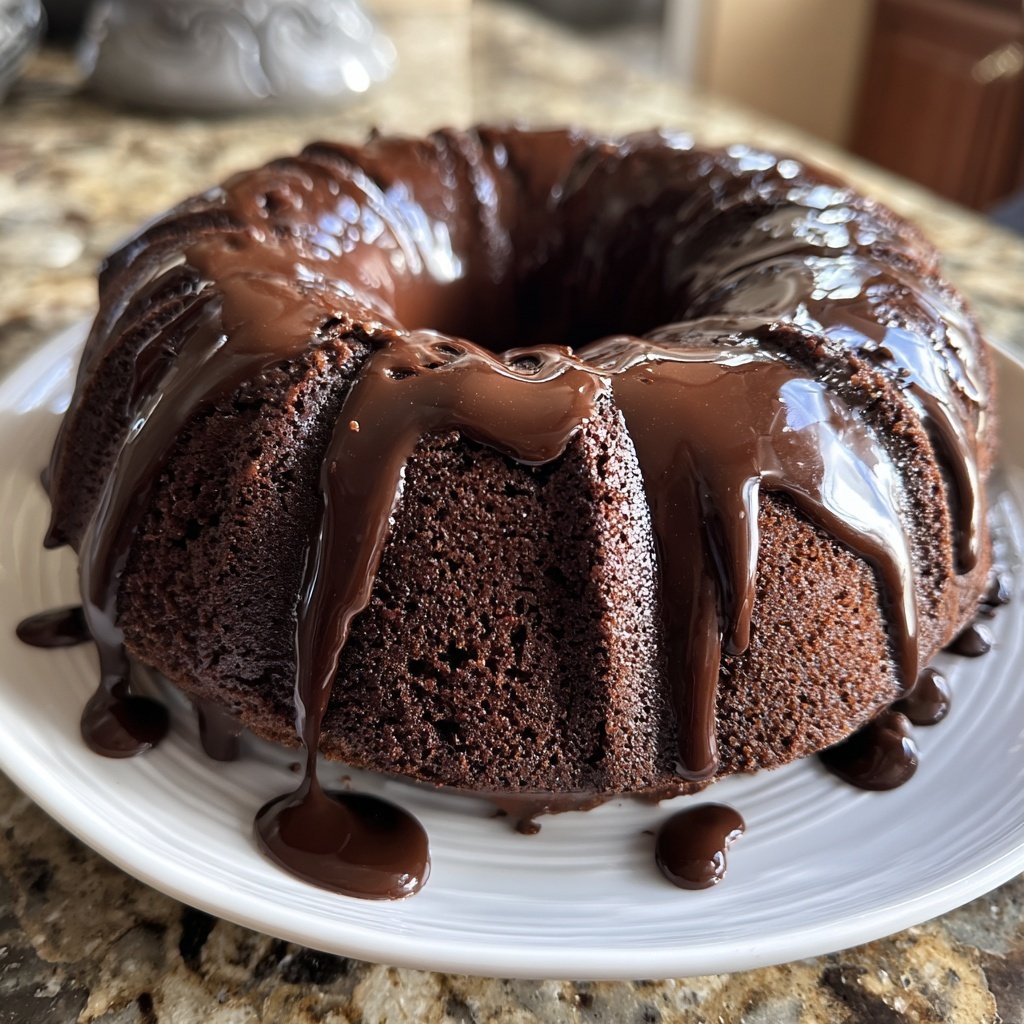
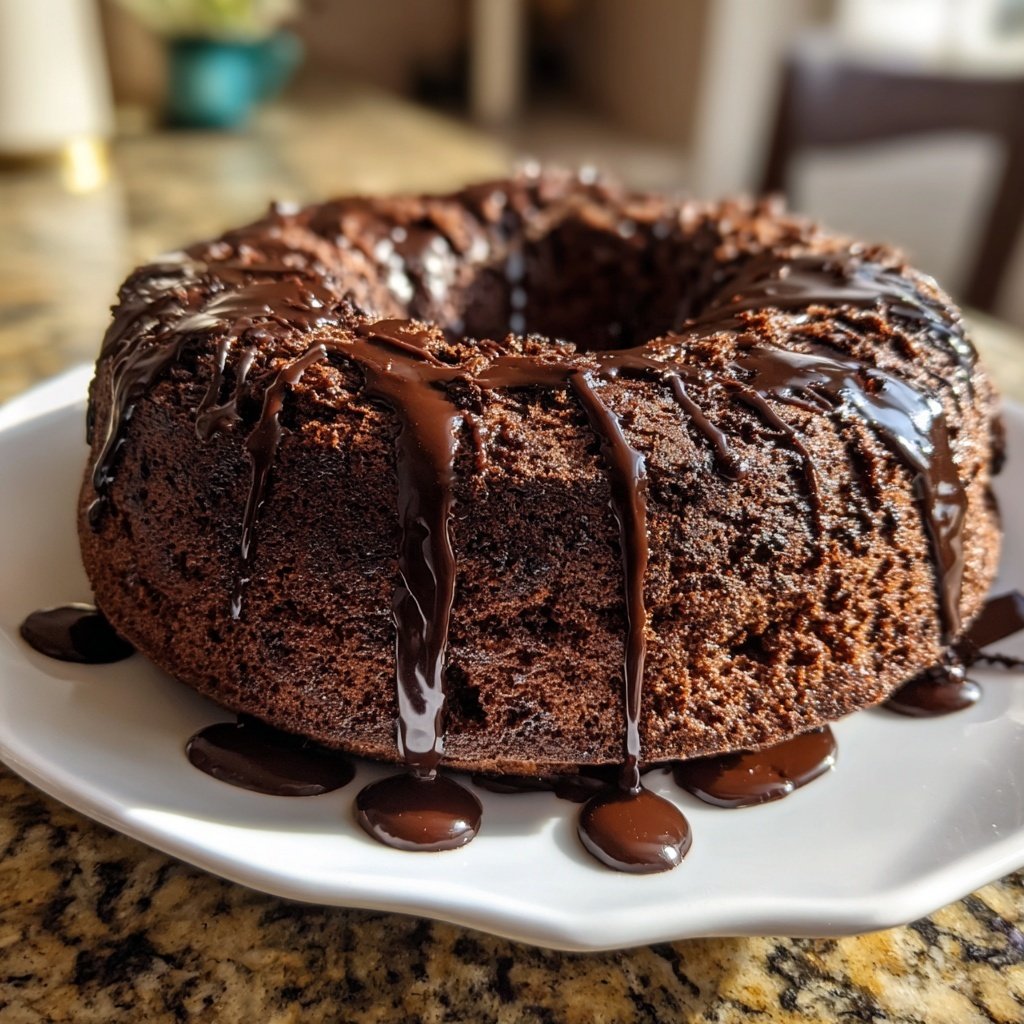
Chocolate Cake With Oil
Highlighted under: Pastry Dreams
When I decided to make a Chocolate Cake with Oil, I was looking for a moist and rich dessert that wouldn't require a lot of fuss. This recipe has quickly become a favorite in my household because of its simple ingredients and incredible taste. The oil not only adds moisture but also helps the cake to rise beautifully. I love how it comes together in just one bowl, making cleanup a breeze. Whether it's for a birthday or simply to satisfy a chocolate craving, this cake is sure to impress!
While experimenting in the kitchen, I discovered that using oil instead of butter can lead to a surprisingly fluffy and moist cake. The first time I made this cake, I was blown away by how light it turned out. Not only does the oil keep the cake moist, but it allows the rich chocolate flavor to shine through without competing with buttery undertones.
Since then, I've made this cake for countless gatherings and it's always a hit. A helpful tip I learned is to let the cake cool completely before frosting it. This ensures that the frosting does not melt into the cake, resulting in a beautiful presentation that's perfect for any occasion.
Why You Will Love This Recipe
- Rich chocolate flavor balanced with a subtle sweetness
- Incredibly moist texture that lasts for days
- Perfect for any occasion, from simple treats to special celebrations
Understanding Ingredients
In this Chocolate Cake with Oil, each ingredient plays a crucial role in achieving that perfect texture and flavor. The all-purpose flour provides structure, allowing the cake to rise beautifully, while the unsweetened cocoa powder delivers rich chocolate notes. Using vegetable oil instead of butter is key; it keeps the cake moist for days, and its neutral flavor lets the chocolate shine. Buttermilk also contributes to the cake's tenderness, creating a velvety crumb. If you're in a pinch, you can substitute buttermilk with a mixture of regular milk and a bit of vinegar or lemon juice to mimic the acidity.
The leavening agents—baking powder and baking soda—work together to ensure the cake rises properly. The baking powder activates immediately when mixed, while the baking soda requires an acidic component like buttermilk for optimal activation. This dual action helps achieve that fluffy texture in your cake. Be sure to measure your leavening agents accurately, as adding too much can lead to a cake that rises too quickly before collapsing.
Baking Techniques
Baking times can vary depending on your oven and the materials of your cake pans. To ensure even baking, I recommend using light-colored aluminum pans as they help distribute heat more evenly. When you're baking the cakes, keep an eye on them after about 25 minutes; you're looking for edges that are pulling away slightly from the sides of the pans and a toothpick inserted into the center coming out clean. Remember that every oven is different, so avoid opening the door too frequently, as this can cause temperature fluctuations.
Once the cakes are out of the oven, allow them to cool in the pans for about 10 minutes to set before transferring to a wire rack. This step helps prevent the cakes from breaking apart. If you're worried about sticking, consider lining your pans with parchment paper; it can make the transfer much easier. Once completely cooled, you'll be ready to frost or serve the cakes. If you're planning to frost them later, you can wrap them tightly in plastic and store them at room temperature for a day or refrigerate for longer freshness.
Ingredients
Start off your baking adventure by gathering these simple ingredients:
Ingredients
- 1 3/4 cups all-purpose flour
- 1 1/2 cups granulated sugar
- 3/4 cup unsweetened cocoa powder
- 1 1/2 teaspoons baking powder
- 1 1/2 teaspoons baking soda
- 1 teaspoon salt
- 2 large eggs
- 1 cup vegetable oil
- 1 cup buttermilk
- 2 teaspoons vanilla extract
- 1 cup boiling water
Once you have everything ready, you're just a few steps away from deliciousness!
Instructions
Follow these straightforward steps to create your chocolate masterpiece:
Preheat the oven
Preheat your oven to 350°F (175°C). Grease and flour two 9-inch round cake pans.
Combine dry ingredients
In a large mixing bowl, whisk together the flour, sugar, cocoa powder, baking powder, baking soda, and salt.
Add wet ingredients
Add the eggs, vegetable oil, buttermilk, and vanilla extract to the dry ingredients. Mix until well combined. Slowly add the boiling water and stir until the batter is smooth.
Bake the cake
Pour the batter evenly into the prepared pans. Bake for 30 minutes or until a toothpick inserted into the center comes out clean.
Cool the cakes
Remove from the oven and let the cakes cool in the pans for 10 minutes. Then transfer them to a wire rack to cool completely.
Now you're ready to frost and enjoy your delicious chocolate cake!
Pro Tips
- To elevate the flavor, consider adding chocolate chips or espresso powder to the batter for a deeper chocolate taste.
Serving Suggestions
This Chocolate Cake with Oil is delightful on its own, but I love to enhance it with a simple chocolate ganache or a dusting of powdered sugar to elevate the presentation. The rich flavor pairs wonderfully with fresh berries or a scoop of vanilla ice cream, adding a delightful contrast in texture and flavor. For festive occasions, you can decorate the cake with chocolate shavings or colorful sprinkles to appeal to guests of all ages.
Another fun twist is to layer the cake with a flavored filling, such as raspberry jam or peanut butter buttercream. This not only adds an extra flavor dimension but also makes for a stunning visual presentation when sliced. If you're feeling adventurous, consider making a two-layer cake, alternating vanilla and chocolate. This creates a beautiful marbling effect that’s sure to impress.
Storage and Make-Ahead Tips
This cake stores very well due to its moist texture. You can keep it in an airtight container at room temperature for 2-3 days, or in the fridge for up to a week. If you want to prolong its shelf life, consider freezing individual slices wrapped tightly in plastic wrap and then placed inside a freezer bag. They can last up to three months and make for an easy treat whenever you're craving something sweet.
If you're preparing in advance for a gathering, you can bake the cakes the day before and let them cool completely. Store them wrapped in plastic wrap to maintain moisture. You can frost the cake the day of serving to keep the frosting fresh and appealing. Just make sure to allow any frosting to come to room temperature for better spreadability, especially if it has been refrigerated.
Questions About Recipes
→ Can I use olive oil instead of vegetable oil?
Yes, olive oil can be used to add a unique flavor, but keep in mind it might alter the cake's overall taste.
→ What can I use instead of buttermilk?
You can make a substitute by mixing 1 cup of milk with 1 tablespoon of vinegar or lemon juice and letting it sit for 5 minutes.
→ How do I store the cake?
Store the cake in an airtight container at room temperature for up to 3 days or in the refrigerator for up to a week.
→ Can I freeze the cake?
Yes, the cake freezes well. Wrap it tightly in plastic wrap and store it in an airtight container for up to 3 months.
Chocolate Cake With Oil
Created by: Olivia Barrett
Recipe Type: Pastry Dreams
Skill Level: Beginner
Final Quantity: 8 servings
What You'll Need
Ingredients
- 1 3/4 cups all-purpose flour
- 1 1/2 cups granulated sugar
- 3/4 cup unsweetened cocoa powder
- 1 1/2 teaspoons baking powder
- 1 1/2 teaspoons baking soda
- 1 teaspoon salt
- 2 large eggs
- 1 cup vegetable oil
- 1 cup buttermilk
- 2 teaspoons vanilla extract
- 1 cup boiling water
How-To Steps
Preheat your oven to 350°F (175°C). Grease and flour two 9-inch round cake pans.
In a large mixing bowl, whisk together the flour, sugar, cocoa powder, baking powder, baking soda, and salt.
Add the eggs, vegetable oil, buttermilk, and vanilla extract to the dry ingredients. Mix until well combined. Slowly add the boiling water and stir until the batter is smooth.
Pour the batter evenly into the prepared pans. Bake for 30 minutes or until a toothpick inserted into the center comes out clean.
Remove from the oven and let the cakes cool in the pans for 10 minutes. Then transfer them to a wire rack to cool completely.
Extra Tips
- To elevate the flavor, consider adding chocolate chips or espresso powder to the batter for a deeper chocolate taste.
Nutritional Breakdown (Per Serving)
- Calories: 380 kcal
- Total Fat: 26g
- Saturated Fat: 15g
- Cholesterol: 195mg
- Sodium: 85mg
- Total Carbohydrates: 32g
- Dietary Fiber: 3g
- Sugars: 24g
- Protein: 6g